Wednesday, October 2, 2013

DIY: Reversible Pirate & the Princess Pouch!

It's almost time!


My daughter has always insisted that I dress up with her on Halloween...and how can I resist?
It is so much fun.
 
 
Our whole family loves to attend the Renn Faire too...so, its easy to reuse the same clothing for different looks. Sometimes though, you just need a little something extra to spruce up that old get up, eh?!
 
 
 Today I want to share with you a fun little DIY: Reversible Pirate & the Princess Pouch!
You can add it to your costume for that final touch.
My daughter has used them for her costumes as a: Princess, Pirate, Gypsy, Witches/Sorcerers' spell bag, even an Elven Archer!
See mom?! You NEEEEEEED one! 
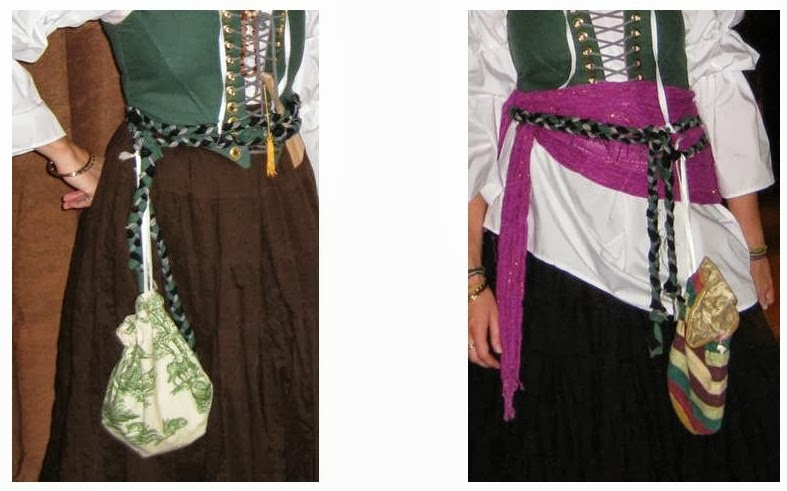
 
 
Moms and dads should not feel left out! I carry mine when we go to the faire...dads can use them with their Jedi garb too! Then, when the force is keeping you apart, you can still call each other! Hahaha. The possibilities are endless. My favorite part is the fact that the pouch is reversible. Use a fun print on one side and a neutral solid for the inside to get the most use out of it!


  So, lets spice up your little one's Pirate or Princess costume this month with without breaking the bank!

This lovely REVERSIBLE pouch will add that finishing touch to your little one's ensemble! Not sure what fabric to use? Choose your favorite 2 prints or solids and get two new looks in one simple project. Your Princess can dangle this lovely new purse from her wrist, or in between her fingers. Your precious Pirate can stash away his treasures from this pouch that hangs from his belt. You could even super size this for mom or dad! Store all of your necessities (cell phone/keys/wallet/etc) while strolling the streets for candy or a day at the faire.
Gather your standard sewing supplies and choose your fabric.

 I will give the measurements for the kid size pouch during the tut. (The measurements for the Super Size Pouch for adults is at the end of this tut...all directions are the same.)

You need two fat eights in different prints/colors.......or scraps to cut out the following pieces.

Here is what you need to cut out ...

·         one piece of  16" x 6" for the "outside" panels

·         one pieces of  16" x 6" for the "inside" panels

·         one piece of ribbon 22" for the drawstring/handle 1/2" - 3/4" works best.

The finished pouch will be ~ 7" tall and 5" wide with a drawstring handle of ~10" long when folded over and tied.
 
 
Arrrg! Let's get stARRRRted!

 Place your 2 pieces Right Sides Together (RST).
 
Sew the 2 short ends together using a 1/2" seam allowance.
 
 
Open up your loop of fabric and press the seams to one side.
If you want finished edges for the drawstring casing,
Serge the raw edges on both sides, trimming away just a bit of fabric.
I did not do that in these photos, but have with other pouches. You could also use a pinking shears or an overcast stitch if desired.
 
 
With the fabric loop folded as shown above, press a crease in each one of the bottom edges.
 
 
From the center seam that you stitched to join the 2 fabrics together (middle blue arrow.), measure down 1.5"  (2" for the Super size pouch) and mark with a pin these points are marked in the photo above with blue arrows.
Using a 5/8" seam allowance sew from your pin to the bottom folded edge of each side, along the dashed red lines in the photo above.
Remove your marker pins.
 
 
Fold the edges back 5/8" as shown and press open the seams you just stitched together.

 
Fold the pouch in 1/2 lengthwise.
Do this by matching the two bottom corners of the pouch that are the same color.
Mark 1.5" in and 1.5" up from the corner. This should give you a 45 degree angle.
Connect the two points and mark with chalk.

 
Trim the corners off by cutting along the chalk line.
 
 
Unfold your pouch and it should look like the photo above.

 
Fold your pouch down, along the first center seam you stitched so that the edges are all even and the folds at the bottom of each pouch are as shown above.
Pin all layers together as show above.

 
Using the edge that you trimmed off on a 45 degree angle, sew a 5/8" seam allowance (from the trimmed edge) to join all layers together as shown above along the dashed red line.
BE SURE TO SEW TO THE VERY EDGES, BACK STITCHING WELL.
This not only joins all layers for easy reversing, but it closes the bottom of the bags so tiny items do not fall through a hole.
Trim off the corners of the other pouch at a 45 degree angle to reduce the bulk as shown above along the blue arrows.
Remove your pins!

 
 Open the side slits that were not sewn together earlier and pull the right side of your fabric out through one of the holes.

 
Your pouch is now right side out!
Carefully, roll the top seam so that the edges are nice and straight along the top. Ideally, you will not see the other fabric peeking out too much from the reverse side.

 
Using the 5/8" crease that you neatly pressed earlier along the seam allowance, tuck the raw edges in.
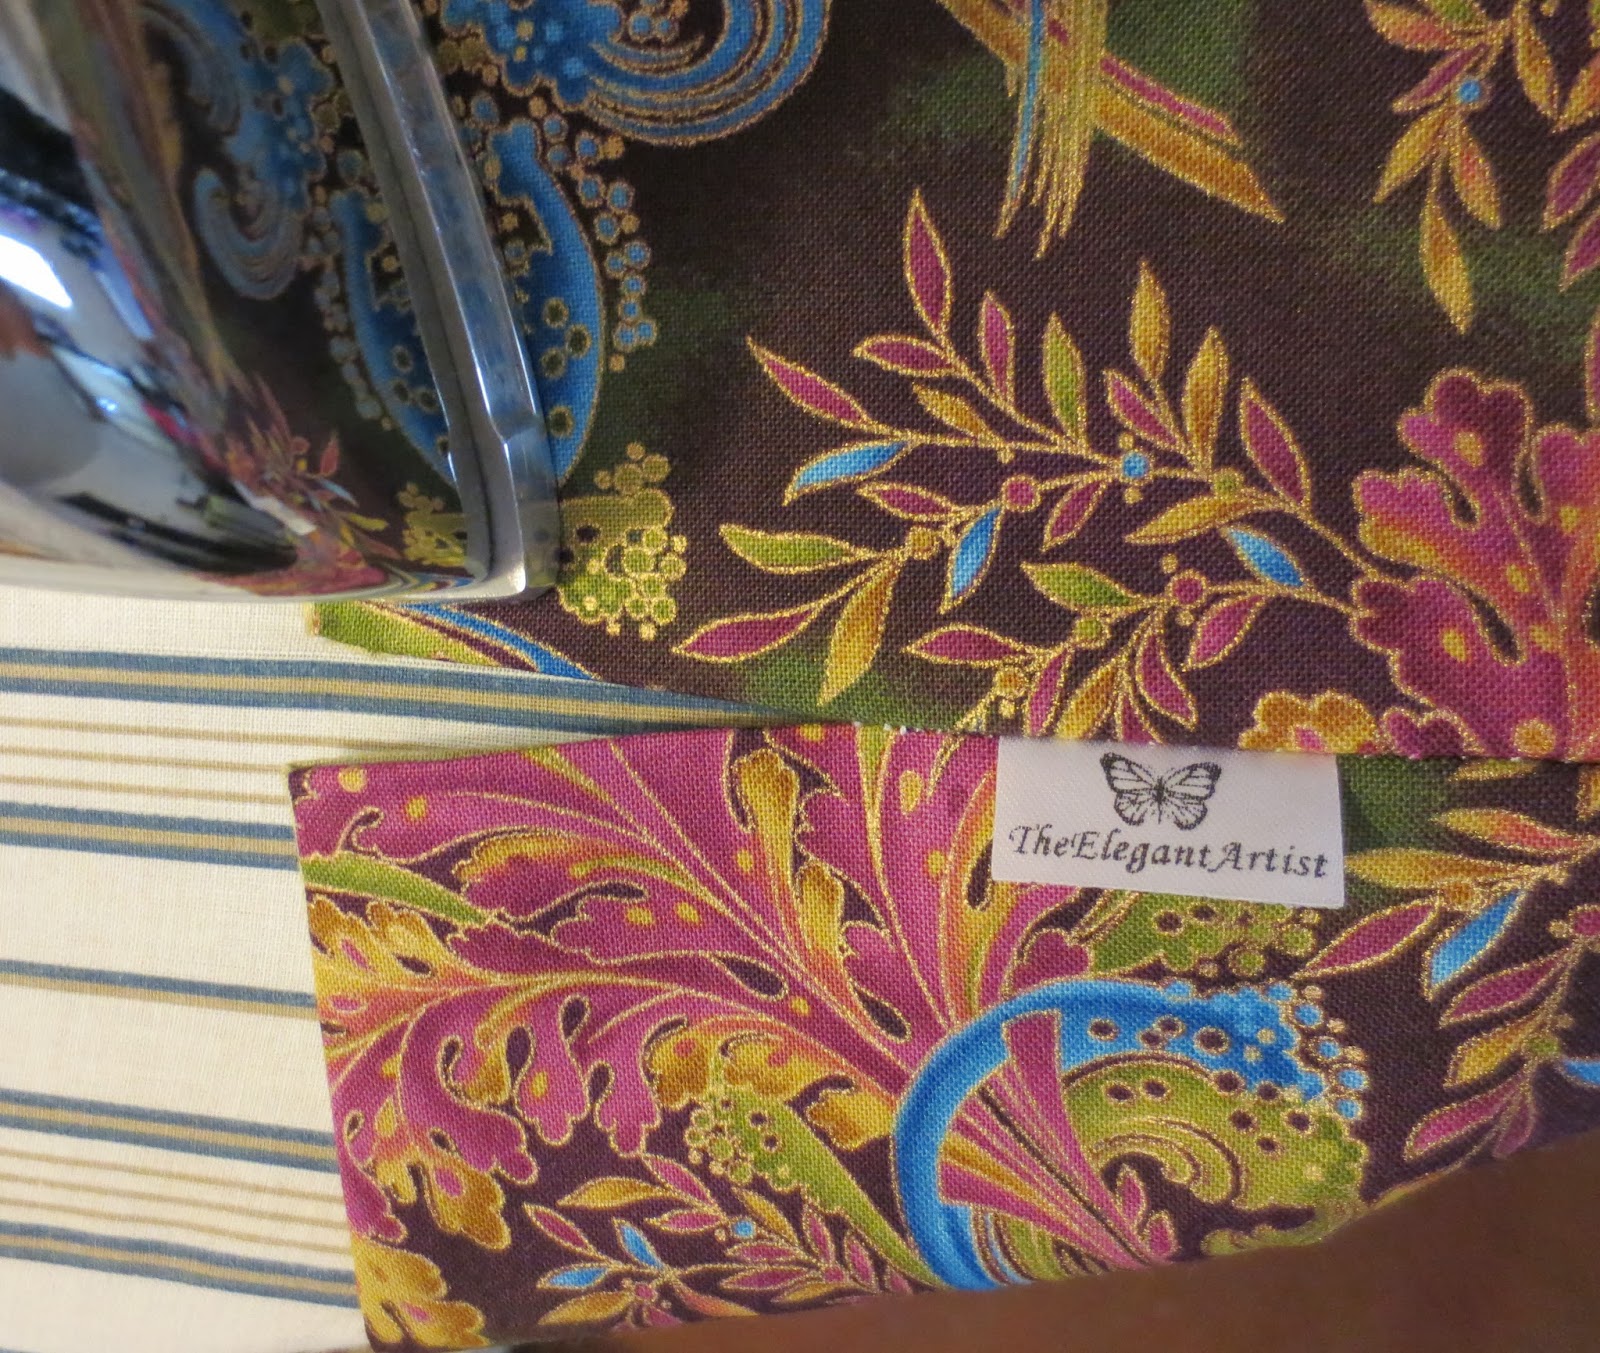


Press. Be sure that the seams are nice and neat here so that you do not see the other fabric on the reverse. Check inside and out!

 
Pin the edges. When you begin and end your stitching in the next step, you want these edges to stay nice and neatly lined up.
If you have a bit of bunching, it is not a big deal...
the pouch will be cinched shut most of the time.
Note the position of the pins above. These pins also mark the OPENING for the ribbon casing. You need these to stay even, but do not sew that area shut.


Remembering to back stitch at the beginning and the end of each edge, sew near the very edge of the pouch (far right lines of white stitching in photo above). This stitch secures the top edge where the 2 different fabric patterns/colors meet.
Next, sew just above the stitching that is the side seam of the pouch (far left lines of white stitching above). You can see that point pictured above. It is just between the butterfly tag and the far left lines of white stitching.

 
Press if desired.

 
Loosely tie a pin to one end of your ribbon. Thread the ribbon through both sides of the casing. Tie a knot in the end of your ribbon and you are all set!

 
You are ready to hit the streets with your fab new Reversible Pirate or the Princess Pouch!

 
You can even amp this up a bit...use satin on one side and a velvety fine whale corduroy on the other!
Add satin cording and a fine tassel for your drawstring M'a Lady!

 
You could even add a band of trim to the very top edge!


Super Size Adult Pirate & the Princess Pouch

Use these measurements for the larger pouch...all directions above are the same.

You need two fat eights in different prints/colors.......or scraps to cut out the following pieces.


Here is what you need to cut out ...

·         one piece of of 21" x 9" for the "outside" panels

·         one piece of 21" x 9" for the "inside" panels

·         one piece of ribbon 35" for the drawstring/handle 1/2" - 3/4" works best.
 
The finished pouch will be ~ 10" tall and 8" wide with a drawstring handle of ~17" long when folded over and tied.


Thanks for being a "Sweetie" and stopping by!
 
~ Happy Halloween! ~

Sunday, September 29, 2013

DIY: Boxy Grocery Tote

 
I had 2 problems that I have been meaning to solve for quite some time. First, I hoard fabric. Second, I needed some reusable grocery bags. Every time I go to the store I am asked for my bags, please. I sheepishly respond that I need plastic bags. That is just no good. So, I finally got around to doing my part in helping out the environment, while using up my fabric stash! Win, win.
 
 
 After much deliberation, I decided to use a freebie bag that I always grab first. This shape is ideal for taking my packages to the post office because its lightweight and has a boxy shape. If it holds boxes so well...it would be great for my groceries too! 
 
Gather your standard sewing supplies and choose your fabric.
 
You need 3/4 of a yard of fabric...or scraps to cut out the following pieces.
 
Here is what you need to cut out ...
two pieces of 13" x 15.5" for the front/back panels
one piece of 10" x 43" for the side/bottom strip
two pieces of 3.5" x 20" for the handles

 
Your pile should look like this when you are done.
 
 
First, pin WRONG sides together (WST) of your 43" long side/bottom strip to one of your front/back panel pieces along the 15.5" side.

 
Serge.
(For all steps that tell you to serge, you may sew with a regular machine using a 1/4" seam allowance.)
*Remember to clip all of your threads as you go! They will get sewn in and show on the pretty finished edges of the bag otherwise!

 
Just trim away the smallest amount possible with your serger.

 
Open your pieces and press the seam flat to one side.
You have just finished one side seam of your bag.
 
 
Now take the same pieces, WST and line up the 13" side of the front/back panel to the edge of your 43" long side/bottom strip.
It will look like the photo above. Serge from corner to corner, starting at one red clip and ending at the other along the 13" edge. This is the bottom seam.
 
 
Open your pieces and press the seam flat to one side.
You have just finished one bottom seam of your bag.

 
Repeat the above steps again for the other 15.5" side, joining it to the edge of the 43" long side/bottom strip.

 
 Open your pieces and press the seam flat to one side.
You have just finished the second side seam of your bag.

 
Repeat the above steps with your other 13" x 15.5"front/back panels, joining them to the other side of your 43" long side/bottom strip. Press as you go!

 
Now, we will encase the serged seam with a topstitch on our sewing machine.
(If you used a sewing machine instead, trim your seams down to 1/8".)
Since you pressed the seams, the next step will be nice and easy to sew together, without pinning.
Fold the bag along the seams, finished edge out so you are sewing RIGHT sides together (RST).
When you sew, make sure that you sew just OUTSIDE of the bump of fabric that is enclosed. If you do not sew on the outside edge, your serged seams will peek out. In the photo below, the stitch falls just about 5/8" to the left of the folded edge of the fabric.

 
Sew all side seams this way from the top of the bag edge down to the bottom.
When you have finished encasing and reinforcing the side seams, sew the bottom seams in the same way.

 
When you are done, the inside of your bag will be neatly finished and reinforced looking like the picture above.

 
Now on to our handles.
Fold one of your 3.5" x 20" pieces in half WST and press.
Repeat with the other handle.

 
Both handles are now neatly creased down the center.
Unfold as shown above.

 
Now take the long edge of one strap and fold it towards the center crease so the raw cut edge is almost touching the center crease WST. Press the newly folded edge without touching the center crease.
 Repeat with the other handle piece.
 
 
Repeat with the bottom edge of the handle.
Repeat with the other handle piece.

 
With all edges folded in to the center,
fold the handle on the first crease that you made and press again so that all raw edges are enclosed and the outer folded edges are even with each other.
Repeat with the other handle piece.

 
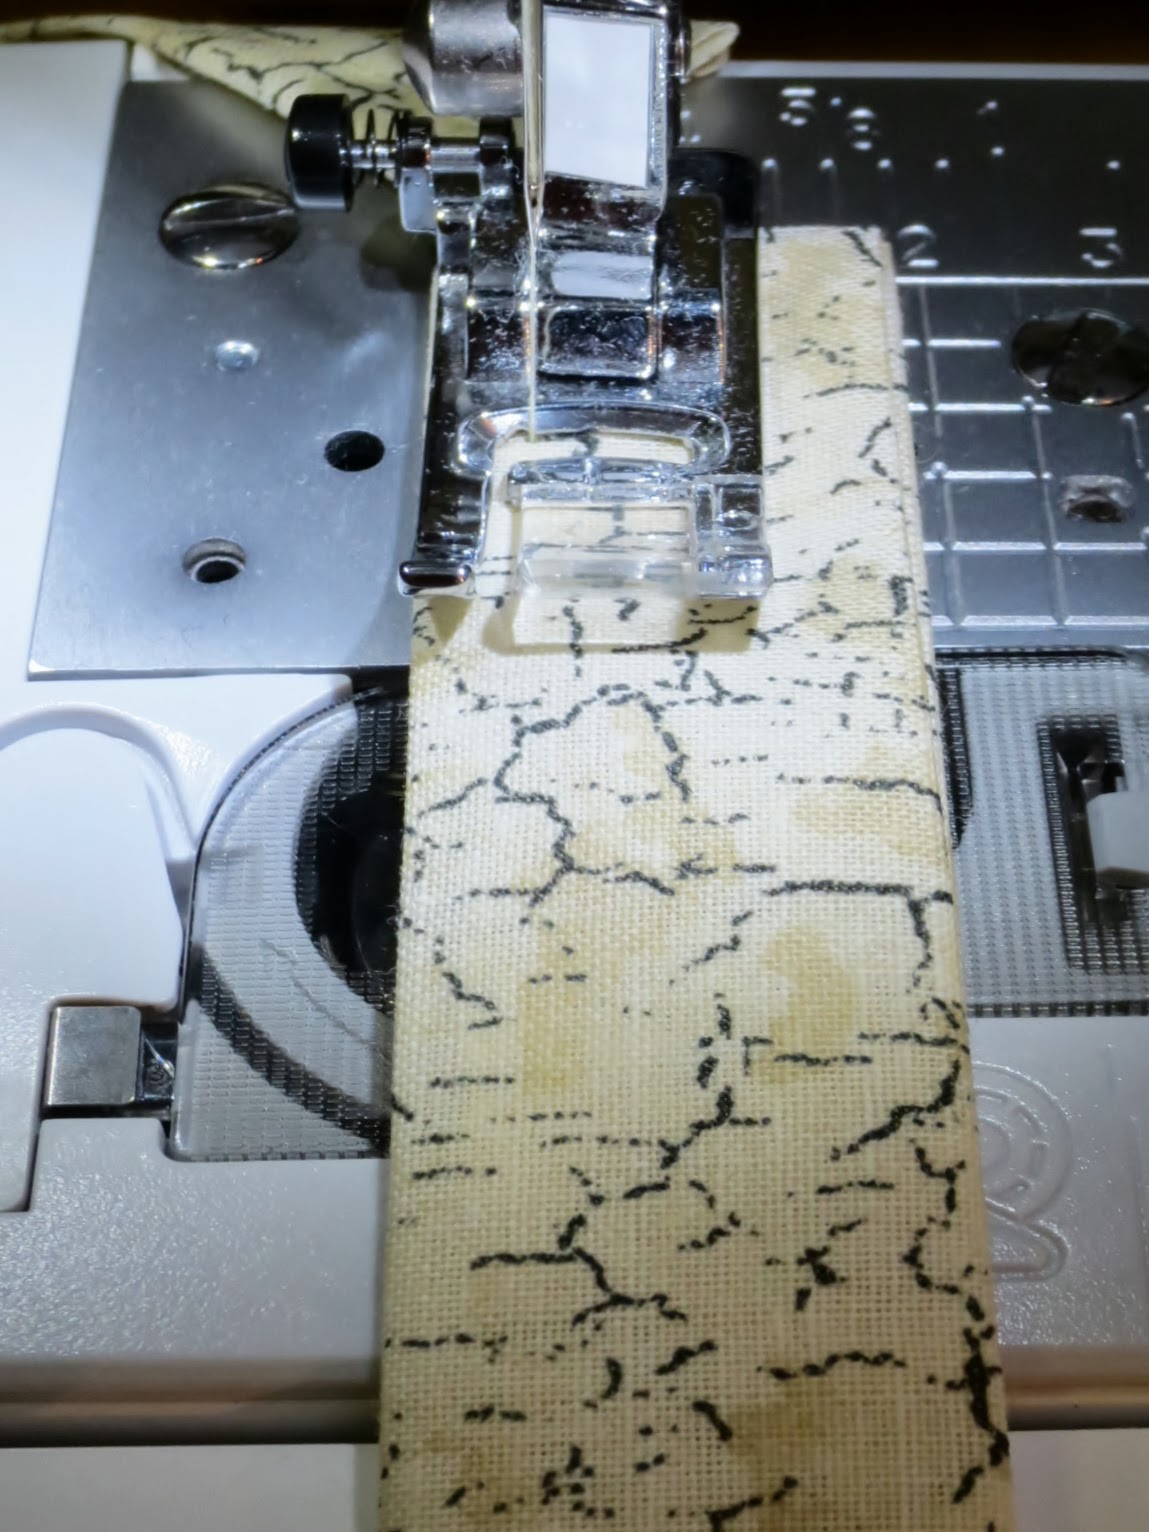
Topstitch along the edge of the handle using a 1/4" seam allowance.
Repeat on the other side of the same handle so that there are 2 rows of stitching along the handle, one on each side.
Repeat with the other handle piece.
 
 
Now we will pin each handle piece to the top of the bag along the 13" front/back panels.
Measure in 2" from the side seam to the edge of the handle and pin in place.
Make sure the curve of the handle is not twisted, and placed as sown above.
Repeat with the other handle piece on the other side of the bag.

 
Serge the top edge of the bag, trimming away the smallest amount possible with your knife.
You will tack on the handles as you go.
(If you do not have a serger, use a zig zag or overcast stitch to keep the fabric from fraying.)

 
Now, fold the top serged edge down 1" to the inside of the bag and press.

 
Pin the handles in place. Make sure they are straight!
Sew a nice straight topstitch along the serged edge of the bag all the way around the top opening. Be sure to backstitch at the beginning and end.

 
Now, you need to reinforce your handles so they look like the photo above.
Use a straight stitch to sew an "X" in the area where the handle overlaps the top edge of the bag.

 
As you can see in the photo above, the handle is just tacked on and not very sturdy.

 
Sew a straight line from the bottom corner of the handle edge to the opposite corner as shown above.
Remember to backstitch at the beginning.

 
Keeping your needle down in the fabric, lift the presser foot and pivot, or turn your fabric. Sew a straight line across the top edge of the bag, along the handle, as shown above.

 
Keeping your needle down in the fabric, lift the presser foot and pivot, or turn your fabric again and sew a straight line from the top corner of the handle edge to the opposite corner as shown above.
Remember to backstitch at the end.
 
 
VoilĂ ! 
You are ready to go shop with your sturdy, earth friendly new Boxy Grocery Tote.
Enjoy!


Friday, September 20, 2013

Funny Sewing Memes!

If you do not live under a rock have been on Facebook or Pintrest in the last year, you are certain to have spotted a few good memes. You know...those funny phrases paired with unexpected or hilarious photos? Yup. I love a good meme...and EVERY board on Pintrest has some good ones! 
I was persuaded to create my own memes for a contest on Facebook. One of my absolute favorite PDF sewing pattern sites, Create Kids Couture (CKC) is giving away a 3 pack of PDF patterns! I have been eying up a few more of their girl's patterns....and wanted to try some selfish sewing with their women's patterns too!
Well, after a few quick searches of some hunky southern men, I started adding a few funny phrases...then, it snowballed! I had several that I was laughing out loud at! I thought you would get a kick out of a few of these.
 
Here are my CKC Sewing meme contest entries!
And remember to stop drinking that coffee now so you don't spray your screen : )


 If you have yet to try a CKC pattern, check them out!
Head on over to the Blog, Facebook page, or Store
...they even have some FREE patterns to get you hooked : )
 Enjoy!