
I am SO excited to be sharing with you my first project for 2014!
Although, I have had this project on my "MUST do" list since this past fall.
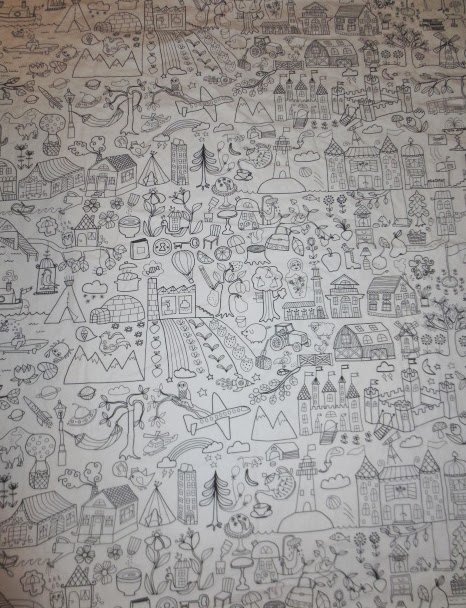
I first laid eyes on this fabric while surfing my Facebook sewing groups.
I knew I HAD to have it!

Being an art teacher, my mind went into overdrive...OH the possibilities!
Currently, I am a stay at home mom to my toddler.
She LOVES to color and I had to do something for her that would get lots of use.
Tips for using this fabric...
WASHABLE Crayola crayons and markers completely come out when washed in hot.
Permanent markers like sharpies will NOT come out, AT ALL.
This fabric is the Tindy from Ikea.
You can view all of the specifics on it here:
Unfortunately, you cannot order this fabric online. You need to go into an Ikea to purchase it.
It has a lightweight canvas feel to it, but it is no too bulky that you can not sew though it easily.
If you can not get to an Ikea, there are great tutorials online that show you how you can draw your own fabric that is similar to this!

In just a few easy steps, you will have a custom fit table cloth for your little one.
You will need:
- 1 and 2/3yard black grosgrain ribbon, cut into eight 7.5" pieces
- One yard of Tindy fabric from Ikea
- White thread
- Pinking shears
- Cutting ruler & Rotary cutter OR Scissors
- Iron

First, determine what size your table is, and add 4" to the length and width measurements.
For example, my table was 21"x 21" so I needed to cut a square 25" x 25".

Make sure you line up the edges of your fabric nice and straight.

Next, I serged off just a bit (less than a 1/4") of the fabric edge.

I repeated this on all four sides..

When finished, I have a nice straight edge that will not fray!
*If you do not have a serger, simply fold over the edge of the fabric 1/2" and press for this step.

Next, fold over the edge of the fabric 1" and press.

Topstitch all four sides. First, 3/8" in from the edge of the fabric, then repeat 5/8" in from the edge.
Your neat stitches will look like the photo above.

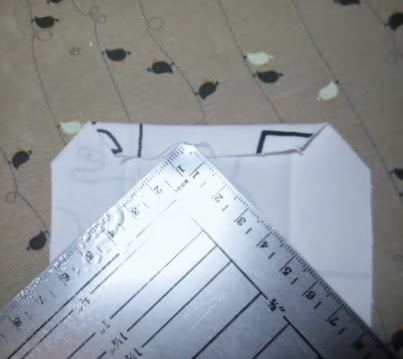
Next, you should place the table upside down on the fabric.

Determine the amount and angle that you will trim the corners off at.

Cut.

Repeat the same steps for all four corners.

Next, Cut out 4 strips of fabric 6" x 4". These pieces will be folded in half then in half again to create bias edge trim for the corners. This will hide the ties that we will sew on next.
Be sure to fold in the short edges too.

Now, lay one piece of bias strip right sides together on top of the corner edge as shown above and pin in place.
Then, lay two of the end pieces of ribbon on top of the edges.
Zigzag stitch the ribbon securely in place as shown above.

Fold your bias strip over, then over again as shown above.

Stitch the bias strip down securely, making sure to catch the front and back of the strip. Press.

Voilà!
Tie those four corners to your table legs, and you are all set!

Wow! It worked...

& she LOVES it...almost as much as I do!

Here is the wash test I did on a few scraps...

Washable crayons worked well and came out 90% with only the detergent...when pretreated with pray n wash...these came out 100%
But the washable markers came out 100%
Thanks for stopping by!
Have a COLORFUL day!
Have a COLORFUL day!
Great blog shared with us. PrintMagic Also Avail Design Services for solid color table covers by adding this service to the above calculator. Send us your required specifications and we’ll create the design from scratch, very unique, and matching your needs and brand messaging. Once you approve the design, we will get the trade show table covers printed and delivered to your doorstep!
ReplyDelete