
I love a great vintage find. What is even better that going into your favorite vintage or thrift store? Finding a sentimental treasure right at home. When I was expecting my second daughter last year, I was pleasantly surprised to find this great baby sweater that was mine. My older daughter even wore it too! After a good 30some years of storage and use by three baby girls, it had seen some better days. A few of the tiny peralized buttons had been replaced, and I found myself stitching together a few loose yarns near the cuff. Well , it is time for this vintage piece to get some TLC. Grab an old sweater of your own and give it a new look in less than an hour!

The first thing that I needed to do was decide on the right trim. I truly love the vintage romantic feel in pieces, so that's the look I am after. You can get creative and use jumbo ric rac, a hand cut & gathered floral silk ruffle or any fancy trim that calls to you at your local sewing shop.

I went for this package of Beige hem facing on the far right. It looks like a piece of flat lace...and the color is just right. This pack is from Wrights and measures 1-3/4" x 2-1/2 yards. I only needed about half a pack for this tiny trim.

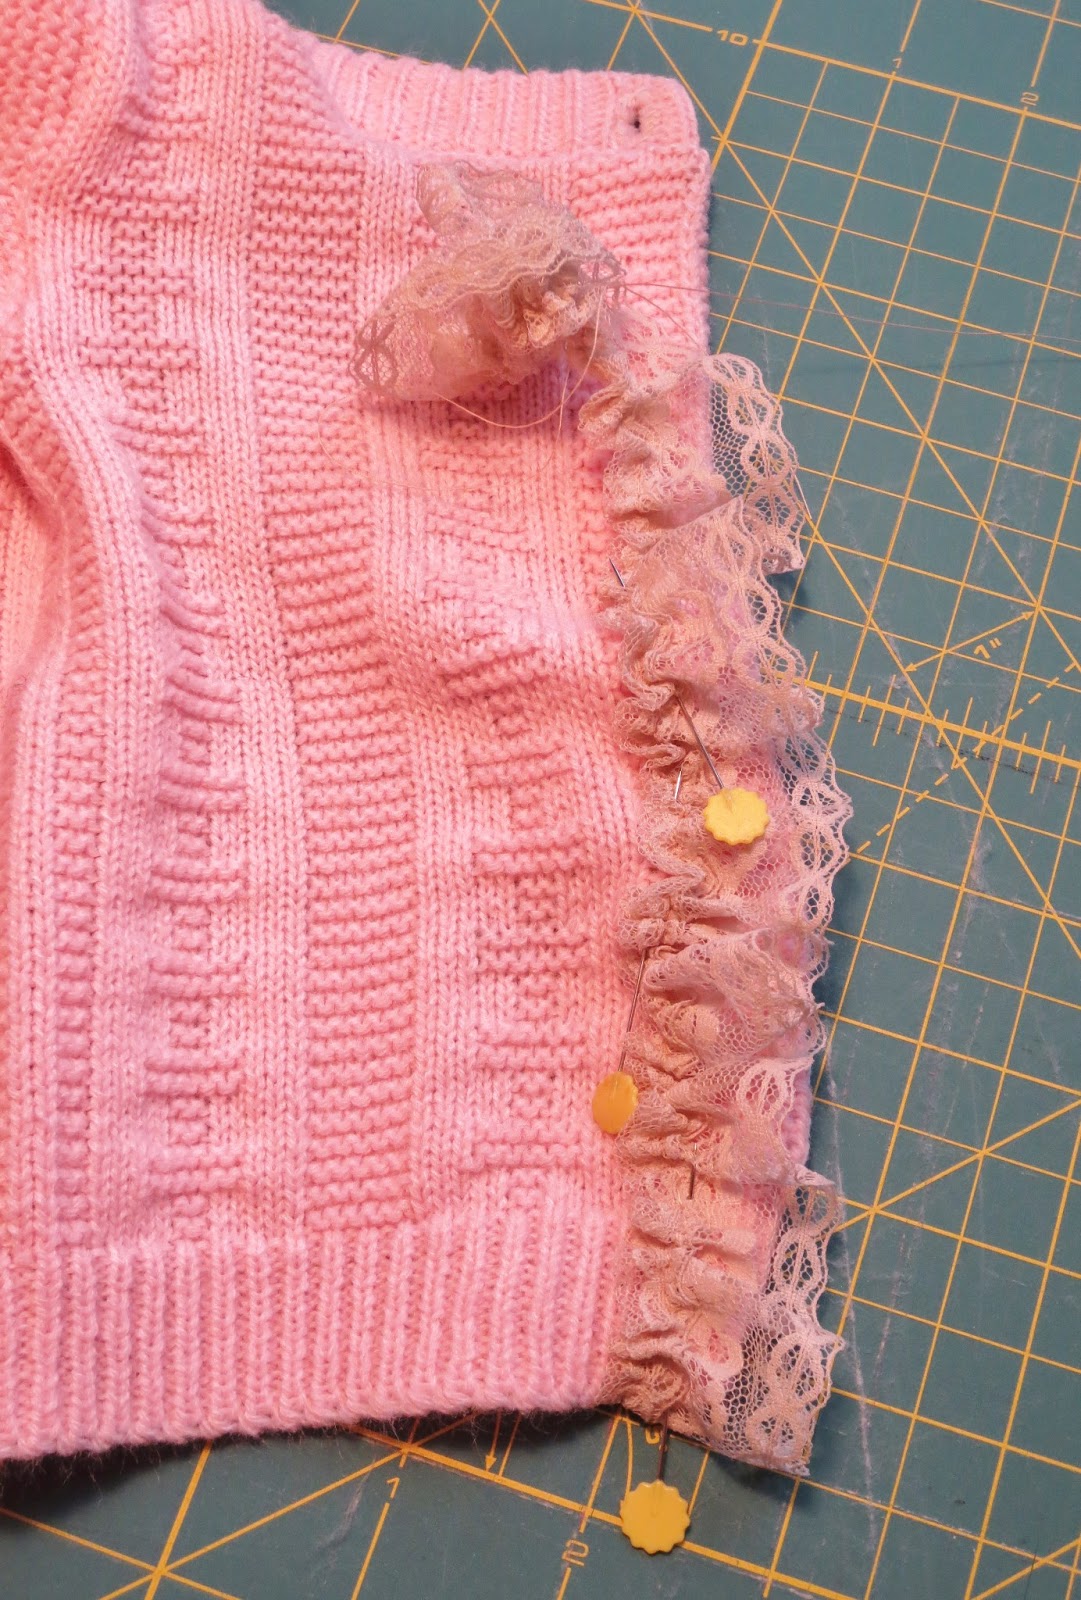
Since I wanted to cover the buttons (rather than finding new buttons and hand sewing them alllll on) I needed to make sure that the trim was wide enough to hide the buttonholes, but not interfere with buttoning them. Find the trim that works best for your sweater and pin it in place to "test" out your look first.
Now, we are going to gather this into a ruffle today, so you need to cut the length to be two times longer than the length of the sweater.

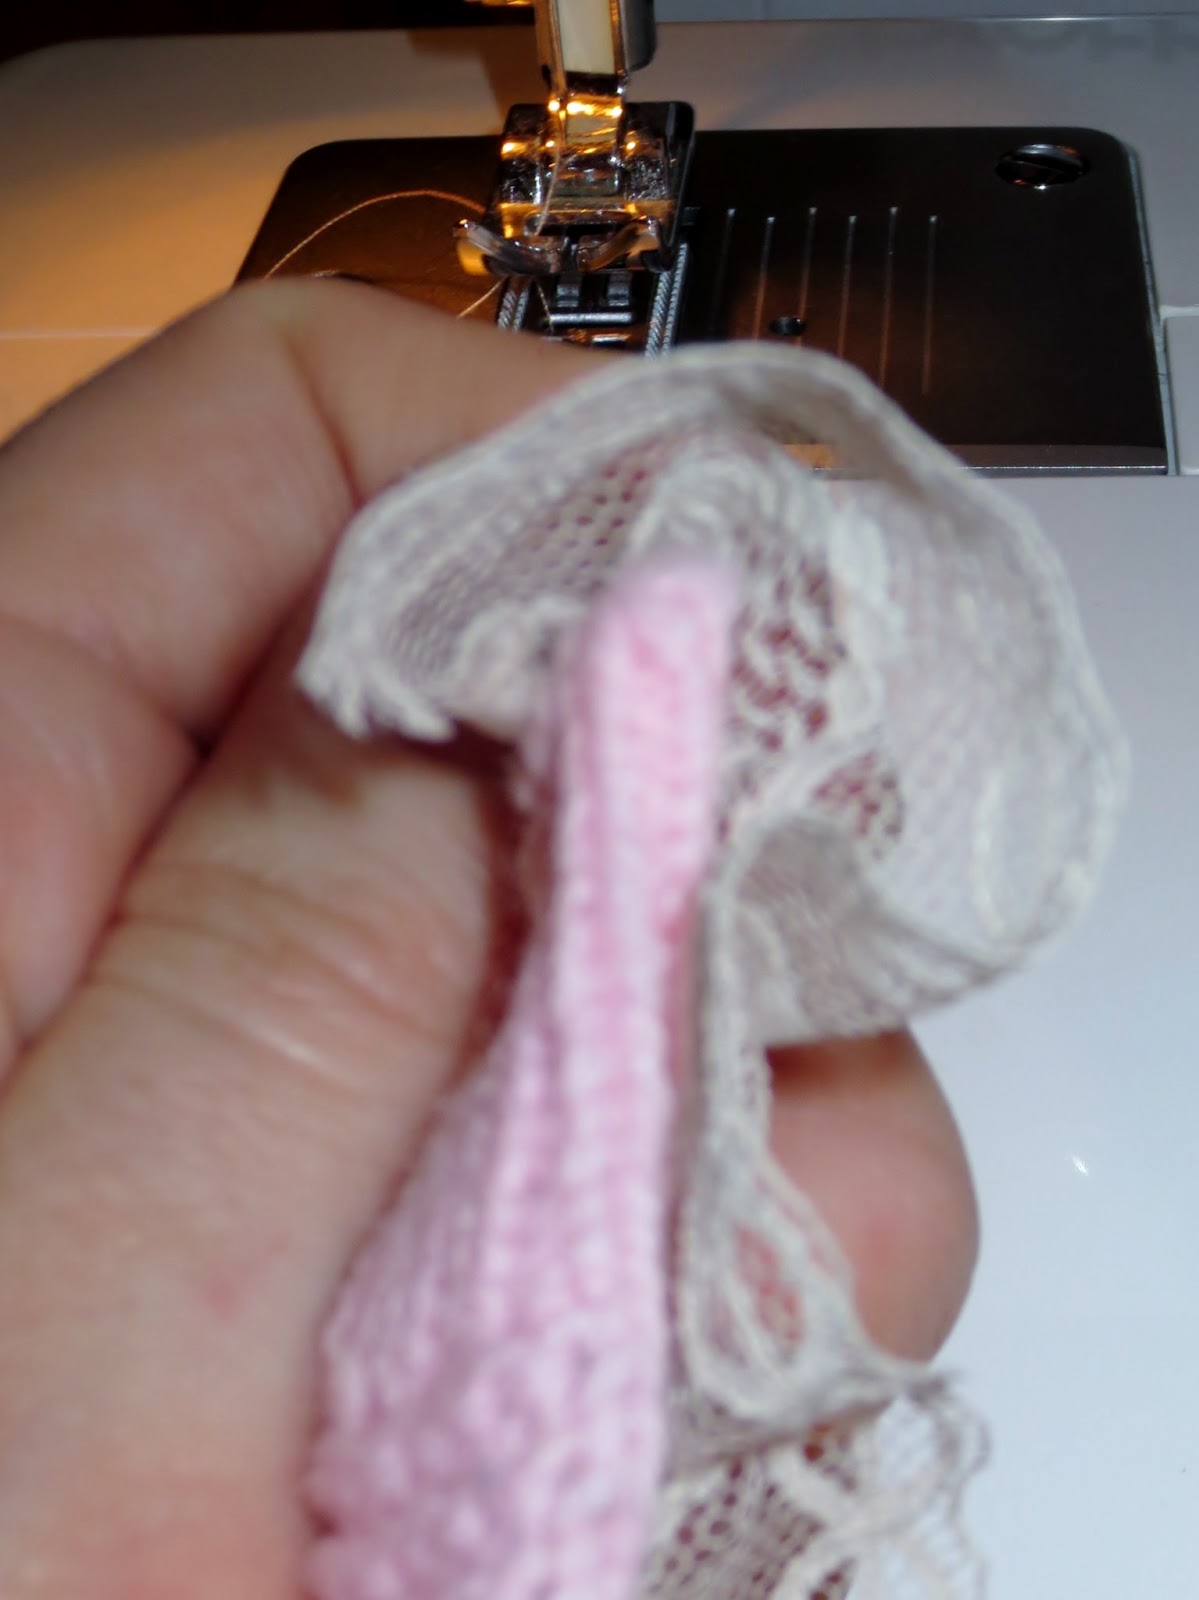
Next, you ruffle the piece of lace.
Folded over the very edge of the trim.

Like this...

Pin the folded edge down the entire length of the trim.

With the longest stitch on your machine (mine is a 4...yours could be listed as "baste") sew/baste down the trim WITHOUT sewing over he beginning or end in reverse.

Next, pull the bottom thread to gather the lace into a ruffle.

When you have a ruffle just a bit longer that the front of the sweater, you are done. You want the gathered lace to be about 1" too long on both the top and bottom edges so that later you can fold it over the edges of the sweater.

The far left side of the ruler shows where the line of stitches needs to be.

Start pinning the lace on the INSIDE bottom of the hem.
This will give you a more finished look.

Once you have pinned the edge of the lace ruffle to the inside bottom of the hem, flip your sweater right side out again. Lay the trim down flat.

Now pin the lace trim over the buttonholes...pinning just to the left of each hole.
Make sure to work carefully with your gathered lace.
if you pull on it the ruffle will slowly come undone.
Once you are finished pinning the lace along the buttonholes,
you should have about 1" of lace left at the top.

Like this....

Again, flip over your sweater and fold over the last bit of ruffle.

Pin the lace on the INSIDE top of the hem.
This will give you a more finished look.

Now sew down the far left edge of the lace trim, making sure to anchor your hem at the beginning and end (sew in reverse for a few stitches). Also, be certain that you are sewing far enough away from the buttonholes...so you can still button them.

See how nice the edges look from folding over that 1" at the top and bottom?

Here is what that should look like from the side...
...and since you did such a nice job pinning your ruffle,
you can see that your buttons will still work!

Here is what the finished front looks like...now on to the cuffs.

Again, cut the length of your lace trim TWO times longer than the cuff.

You can see how badly this little sweater needed some TLC.

I want the lace to be wider that it was over the buttons...so I am not folding the edge over when I baste my gathering stitch.

Now, gather the lace as you did before and pin to your cuff.
I wanted the lace to hang over the edge just a bit.

When you get to the end of your trim, fold under the cut edge and pin.

Set your machine to a zig zag stitch. The zig zag stitch will allow the lace and the cuff to stretch out slightly when putting the sweater on....or in my case, WWF style wrestling my daughter into her clothes! You do not want to do all this work to have the stitches pop here, do you?
Sew the lace ruffle onto the cuff of the sweater. Repeat these steps for the other cuff.

Voila! You are finished!

Awww... I just love the thought of her dressing her own babies in this same sweater someday!
And because I could not resist...I whipped up a quick bow to match!

She is sooo proud of herself...all dolled up!

I think its naptime!

So cute! That lace looks pink when it's next to that sweater. I really love the whole new look the lace gives. Great tute!
ReplyDeleteThanks. I just could not part with it...I think it is a great way to give it a fresh look!
ReplyDelete